Gates, remote parking areas, storage yards, construction zones, marinas, and long property lines often need video coverage far from a convenient power or network connection. A solar-powered security camera can close that gap without treating every location like a full underground infrastructure project.
The equipment still has to operate as a complete system. In Miami’s heat, rain, fast-growing vegetation, coastal exposure, and storm season, reliable performance depends on matching the camera, solar panel, battery, connection, mount, and recording workflow to the actual site.
Start with the coverage objective
Define the event the camera must capture before selecting hardware or a mounting pole. A useful design identifies the subject, direction of travel, required detail, lighting conditions, and how recorded video will be reviewed.
- Gate activity: vehicles approaching, stopping, entering, exiting, or waiting outside the property.
- Perimeter activity: people crossing a fence line, moving between buildings, or entering a restricted outdoor zone.
- Operations: deliveries, contractor access, equipment movement, remote property checks, and after-hours exceptions.
- Investigation: a clear time line and usable scene view that can be compared with access-control, intercom, or alarm events.
A wide overview camera may show that something happened without providing the detail needed to understand who or what was involved. Conversely, a narrow identification view can miss activity outside its target lane. Many sites need a planned combination of overview and detail rather than one camera expected to cover everything.

Verify sunlight and energy reserve
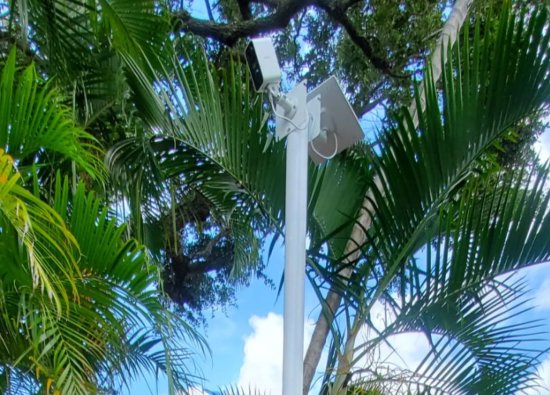
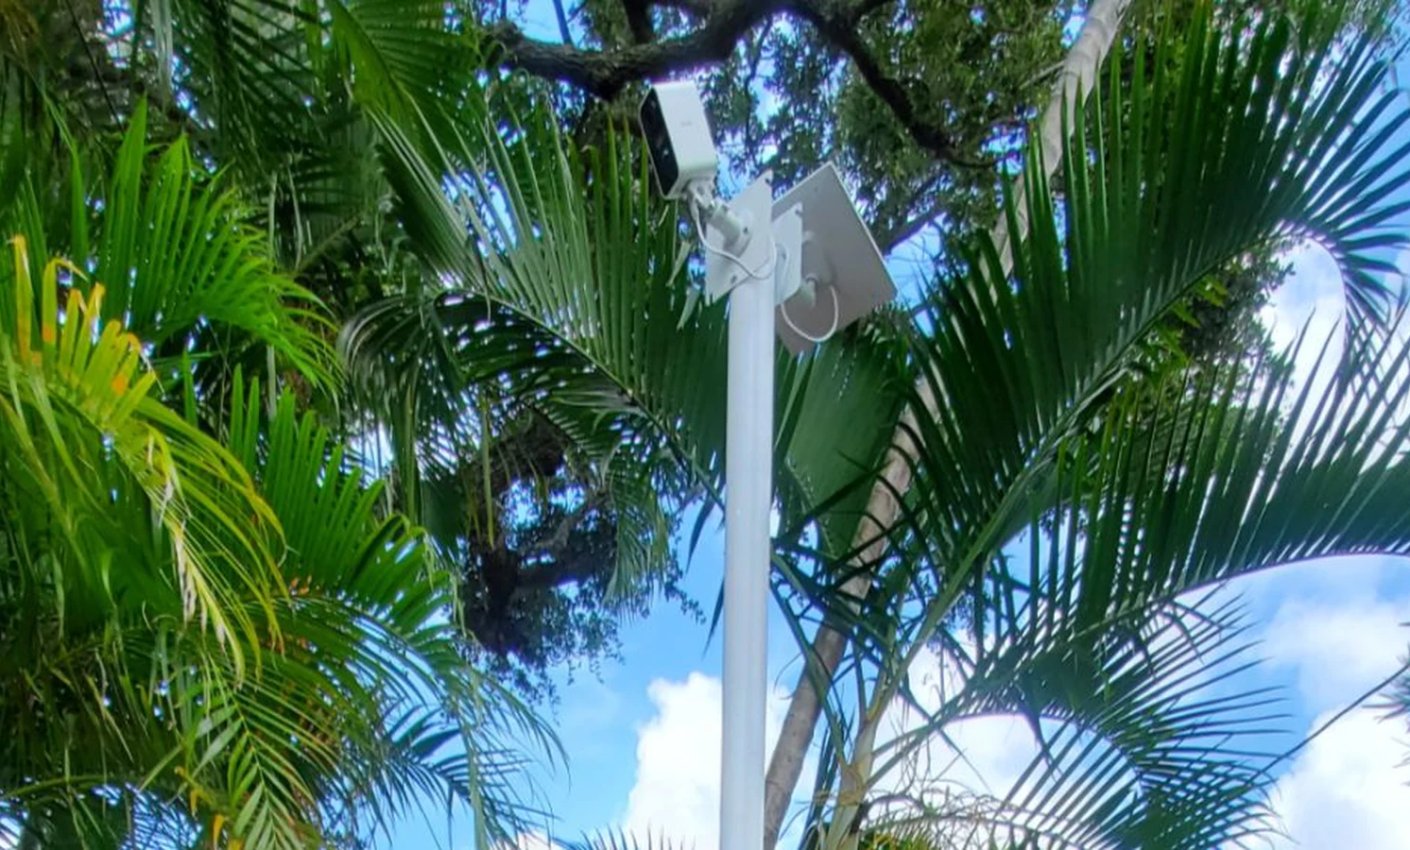
Solar availability must be evaluated at the exact panel position across the day, not from a sunny area elsewhere on the property. Trees, buildings, signs, rooflines, and new landscaping can reduce charging even when the site appears bright.
The camera’s energy demand changes with recording mode, live viewing, night illumination, motion activity, wireless signal quality, temperature, and accessory use. The battery and panel should be sized for the intended operating profile with enough reserve for cloudy periods and seasonal changes, rather than assuming a small panel will support unlimited streaming.
| Factor | What to verify | Common failure pattern |
|---|---|---|
| Panel exposure | Unobstructed sun at the proposed angle and position | Charging drops as foliage grows or nearby construction creates shade |
| Recording profile | Event recording, live-view use, illumination, and expected activity | The battery drains faster than the planning estimate during busy periods |
| Wireless signal | Stable Wi-Fi or cellular service at installation height | Repeated reconnection attempts increase power use and delay video access |
| Service access | Safe access to panel, camera, battery, and connectors | Dirty panels and loose connections remain unnoticed because the mount is difficult to reach |
Panel orientation should be set for the site rather than copied from another installation. Keep the charging surface away from predictable shade and make sure routine cleaning can be performed without disturbing camera aim.
Choose the network path
A solar camera still needs a dependable way to transmit alerts, support remote access, and—depending on the design—send or synchronize recordings. Test the intended connection at the exact camera location and mounting height before final installation.
Wi-Fi, cellular, or local recording
- Wi-Fi: practical when the property network reaches the location with stable signal, appropriate security, and a managed path back to the recording or application platform.
- Cellular: useful where property Wi-Fi is unavailable, but coverage, data plan, account ownership, antenna position, and ongoing service costs must be defined.
- Local storage: can preserve event video during a connection interruption, but retention, physical access, card health, and retrieval procedures still require planning.
Do not rely on a phone signal reading taken at ground level as the final survey. Test sustained connection quality where the device will operate, then confirm that administrators can reach the camera through the intended app, platform, or recorder without shared credentials or undocumented accounts.

Design the mount for the site
The mounting structure must keep the camera view stable, protect the equipment from casual tampering, and support safe maintenance. Property ownership, wind exposure, corrosion, nearby utilities, gate movement, vehicle clearance, and approved attachment methods all affect the final location.
Avoid mounting where vegetation will repeatedly enter the view, headlights will dominate the image, or the pole will vibrate enough to blur night video. Protect exposed cable, form proper drip loops, weather-seal approved connection points, and keep serviceable components accessible without creating an easy reach point from the ground.


Tune recording and alerts
Commissioning should turn the installed camera into a usable security tool, not just prove that a live image appears. Test day, night, rain, vehicle movement, pedestrian movement, weak connectivity, and the actual response process for alerts.
- Set the sceneLevel the view, protect privacy outside the intended area, and confirm the target zone is not blocked by the gate, landscaping, or parked vehicles.
- Define detectionUse practical zones and sensitivity settings that prioritize relevant movement instead of every branch, shadow, or public-road vehicle.
- Test evidenceWalk and drive the real routes in daylight and darkness, then review saved clips rather than relying only on live view.
- Assign responseDocument who receives alerts, how accounts are recovered, how footage is exported, and when police, security, or property management should be contacted.
Frequent nuisance alerts can cause users to ignore the system and can increase camera activity. Detection should be adjusted to the real scene, while retention and notifications should support the property’s operating and investigation needs.
Maintain the installation
Solar cameras are low-infrastructure devices, not maintenance-free devices. A recurring inspection should confirm charging, battery condition, camera aim, recording, connection quality, account access, firmware status, seals, hardware, and the physical condition of the mounting point.
- Clean the panel and lens using methods approved for the equipment.
- Trim vegetation that shades the panel or creates repeated motion in the scene.
- Review battery and charging history when the platform provides it.
- Confirm date, time, notifications, storage, and video export before an incident makes them urgent.
- Inspect brackets, fasteners, cable protection, connectors, enclosures, and visible corrosion.
- Recheck the view after storms, gate repairs, landscaping work, or changes to nearby lighting and structures.
Before severe weather, follow the equipment manufacturer’s guidance and the property’s approved storm plan. After the event, inspect from a safe position first; damaged poles, electrical utilities, loose hardware, or unstable structures require qualified attention before anyone approaches the camera.
Frequently asked questions
These are common questions Miami property owners and managers ask when considering solar cameras for remote gates, parking areas, and perimeter coverage.
Can a solar security camera record continuously?
Some systems support more demanding recording modes than others, but continuous operation depends on the camera, battery, panel size, sunlight, connection, storage, and actual power consumption. The recording requirement should be confirmed during design rather than assumed from the word “solar.”
Is Wi-Fi required for a solar camera?
Not always. Depending on the equipment and workflow, a camera may use property Wi-Fi, cellular service, local storage, or a combination. Each option has different requirements for coverage, accounts, recurring cost, retention, and remote access.
Will a solar camera work during cloudy weather?
A properly selected system stores energy in its battery for periods with reduced charging, but available reserve varies with battery condition, panel exposure, camera activity, and weather. Shading and an undersized energy plan can make cloudy periods expose an installation weakness.
Where should a gate camera be mounted?
The location should match the required view of vehicles or people while accounting for sun, headlights, gate movement, clearance, tamper resistance, wireless signal, wind exposure, and service access. A site survey is more reliable than choosing a generic mounting height.
Can solar cameras replace a wired surveillance system?
They can solve coverage problems in locations where new power or data cabling is impractical, but they are not automatically a one-for-one replacement for every wired camera. Recording continuity, bandwidth, retention, integrations, maintenance, and evidence requirements should determine where each approach fits.
Plan the view, power, connection, and mount together
Security Install US / System64 can survey Miami-area gates and remote perimeter zones, identify realistic camera locations, and install a serviceable solar-camera solution around the property’s security and operating needs.

We design and install cameras, access control, intercoms, and gates for homes and businesses in Miami-Dade. This article comes from the same site surveys we run on driveways, restaurants, and offices — not from a generic kit list.
About the team